


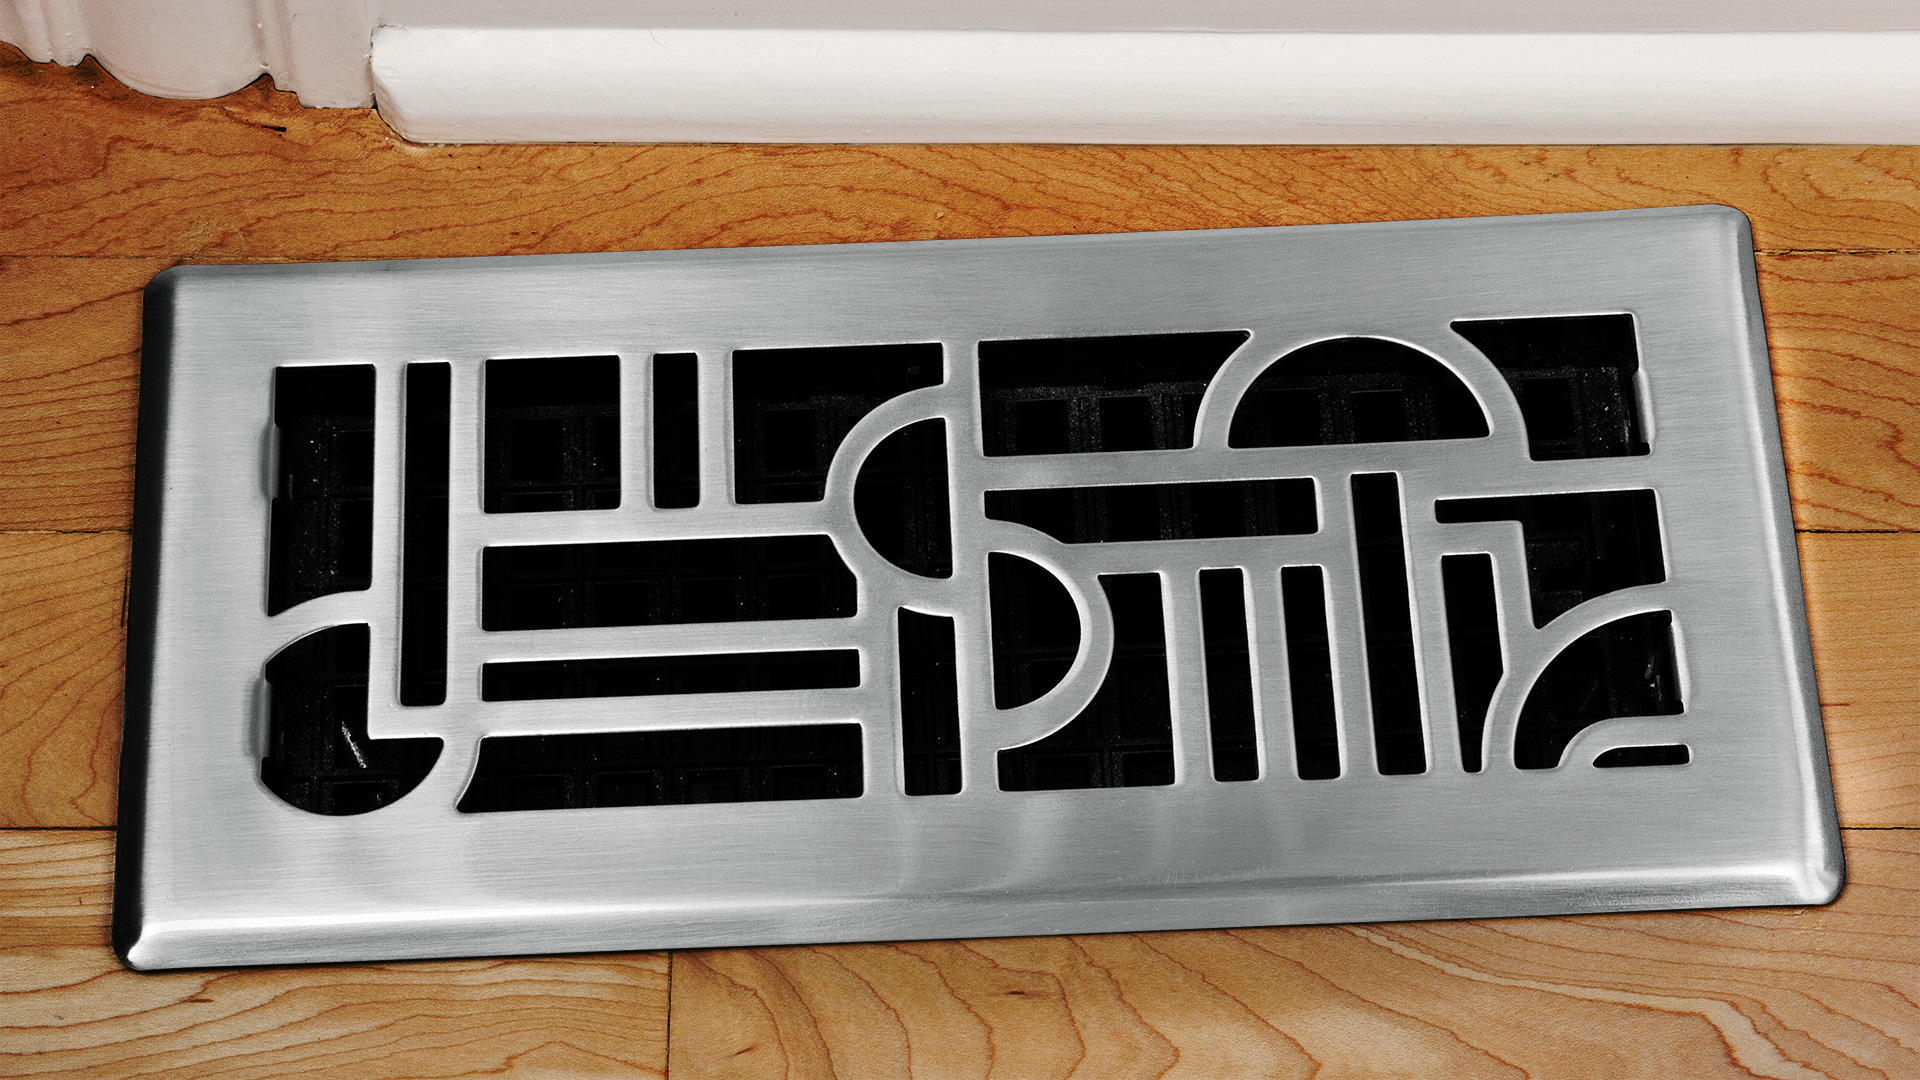
A misaligned floor register can be an unsightly detail. This article will explain what went wrong and an easy fix for most applications.
A common floor connection can consist of a duct boot (90° w/ a 4×10 register in this example – see image below), that feeds up through the floor cut-out, and is nailed or screwed to the wood floor or subfloor. An HVAC tech mainly does the install along with the rest of the heating and cooling system.
Now, if the installer doesn’t take care in aligning and sizing the floor cut-out, you end up with a duct boot that doesn’t fit nicely. With the sheet-metal being so thin, it can easily be distorted when trying to conform to an improper floor opening. Not all is lost at this point.
If your finished flooring is going to consist of tile, hardwood, stone, etc. you have a chance to make some alignment adjustments with those materials by cutting them to realign the duct boot slightly.
NOTE: There are no re-do’s once the plywood cut-out is made. If a major mistake was made, then that section of flooring needs to be redone, whether using tile, hardwood, etc., so we have to resort to more realistic repairs.

Loose Floor Register Fix
If both the 3/4″ wood flooring and finished flooring were cut incorrectly then there is another option. I don’t like what I consider to be hack fixes, but for some projects they seem the most appropriate fix and that applies here in my opinion.
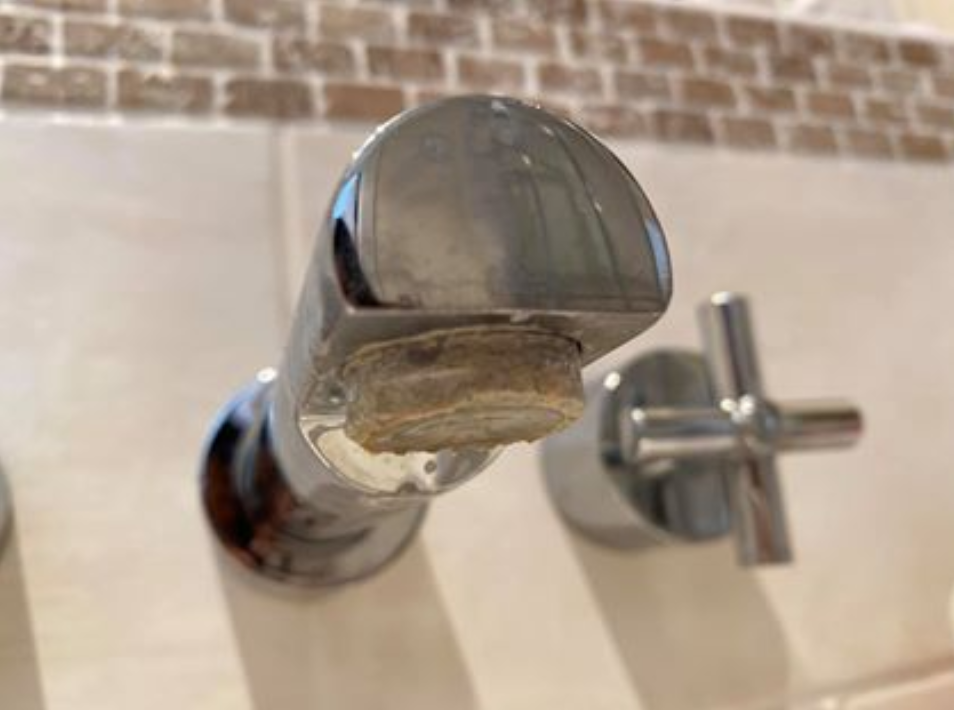
The floor register itself can be bulked up to fill voids using adhesive backed weatherstripping. Any home improvement or hardware store should sell a variety of: thicknesses, widths, and lengths. I prefer the sponge rubber weatherstrip tape for its denser material that won’t compress as easily as foam, and creates a better hold for larger gaps.
There is plenty of sidewall space on the register (1.25″ – 1.375″), so opt for the widest size you can find to add more rigidity, or add two narrow strips.
- Measure the movement from side – side and forward – backward.
- Based off the above measurements, determine which thickness of weatherstripping best suits your needs.
- Remove the register and measure the sidewall length you want to add the weather-stripping to.
- Cut the weatherstripping to length, peel off the adhesive cover, and attach.
- Replace the floor register to confirm movement is reduced or eliminated.
Adding weatherstripping to just one side or end may not completely fill the void. The weatherstripping does compress, so adding an additional piece to the opposite side may add the extra stability needed. There is a possibility that you now have a very tight fit, so for installation: place the register at an angle initially with one end or side of the register going in first, and then with a little force, push and drop the other end in.

Uneven Floor Register Fix
Following the same steps for a loose floor register, but just place a piece of weatherstripping that is 25-50% of the length, and only place on the end you push in-or-out to help align.

NOTE: If the floor opening was cut at an angle, but not a large opening to adjust as explained; the only fix would be to remove the boot and fix the cut-out in the floor. This is a more advanced procedure that will require access to the duct boot below for removal, and possibly sheet metal work to re-align the duct assembly once the floor cut-out is fixed.
Floor Register is Difficult to Install
Reason: The cut-out of the floor was not made big enough and the sheet metal boot was distorted to fit the hole. Now the register fits too tightly and may be difficult to replace.
Fix: Using a hammer, try to pound the boot out on all edges and increase the opening size. Essentially you are trying to smash the face of the wood flooring behind the duct boot and push it back a little. We aren’t breaking the flooring, just opening the hole up some.
(i) A drilling hammer with some more weight can help in projects like this, where there is little room to work and difficult to create force with a large swing. Additionally you have a large side face to hammer with as well for the narrow section of the duct boot.
Reason: A nail or screw that holds the duct boot in place, is not driven in far enough, and the register is getting hung up.
Fix: Install the screw or nail further in.
(i) If the current nail fits too loosely, try a longer nail, or pound another nail in a new location. Roofing nails (7/8″ – 1 1/4″) are common use for duct boot installation. The large nail head ensures a secure attachment, without worry of pulling or ripping through the thin sheet-metal, like a small nail head can.