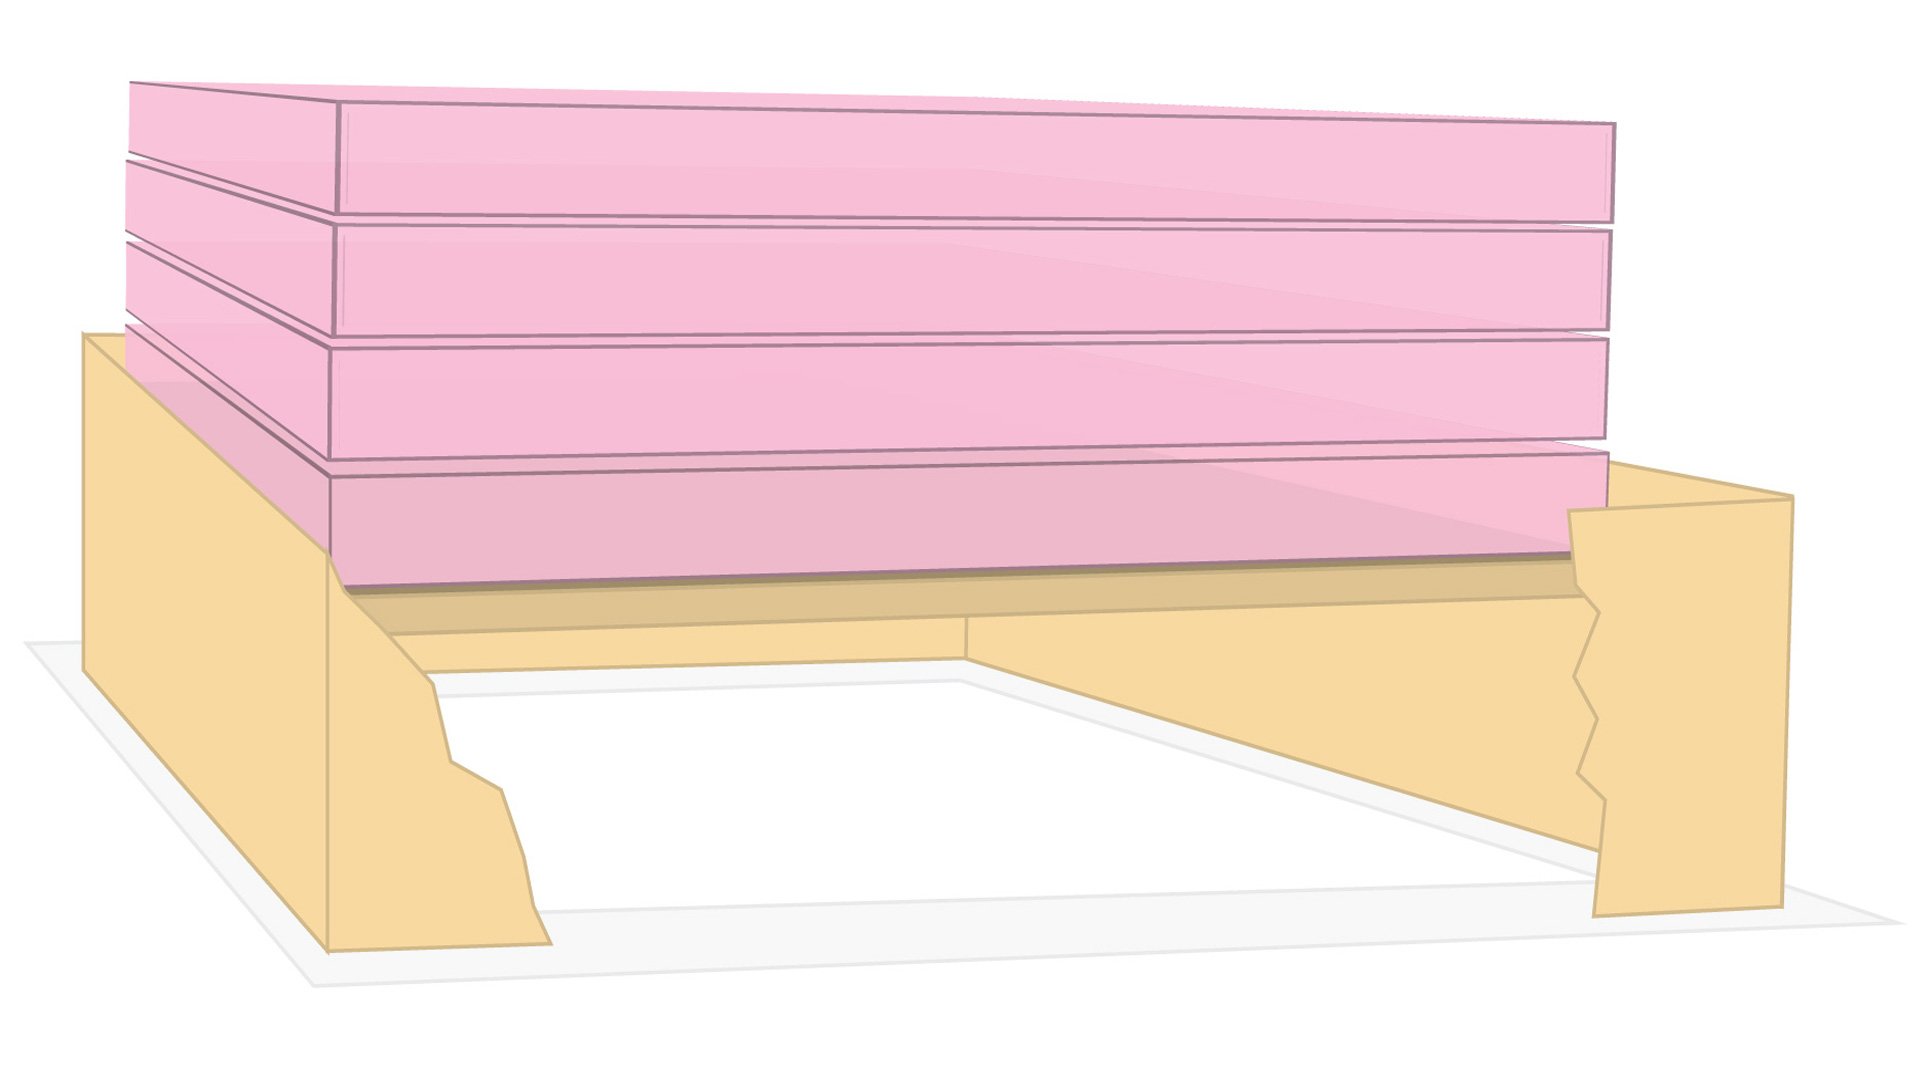
Let’s start with understanding how and what the air grille is attaching to. Interior walls are mainly, if not all, framed with 2×4 material. Unlike exterior walls which have grown over the years to 2×6 to allow extra insulation. The wall stud spacing will vary from 12″ or 16″ depending on the age of the home and local building codes. A return air vent boot will be attached to the wall studs via tabs(ears), or direct to the wall stud.
Examples: Using a typical 6×10 return air duct boot
1) Walls framed 12″ at center – the ductwork runs straight up the middle of the wall then attaches securely via tabs on both sides. There should be minimal or no flex in the tabs when screwing the air grille on.


2) Walls framed 16″ on center – the ductwork cradles the side of a wall stud, but then has a long tab on the other side. This type of installation is what could cause that spongy feeling when trying to fit the air grille screw on the tab side. As you can see the sheet metal is very thin, and the longer the tab, the more flex present.


Removing and Installing a Wall Return Air Grille
Step 1. Remove the original air return grille by unscrewing the fastener screws.
(i) Painted edges may be acting as a seal. Use a utility knife, razor blade, or similar to cut around the perimeter.
Note: Wall repair may be needed if the new grille doesn’t cover any cosmetic wall damage that may occur.


Step 2. Measure the actual duct boot opening for accurate air grille size.
(i) Air grilles and register covers are labeled by the duct boot opening size and not by outside diameter of the grille or register. (ii) You could also take the existing grille with you to the store and do a match.
Step 3. Make sure your louvers are effective
When installing the return air grille you want to make sure you have the louvers facing the right way to be effective in pulling in air, and hiding the duct boot behind for a better visual appearance.
Note: The closer the grille location is too eye level the easier to see through the louvers even if the grille is installed properly.
NOTE: An easy way to understand proper grille positioning is looking at the louvers and how they would pull air in the most efficient and effective way. The wide mouth opening should face the ceiling when mounted high, and facing the floor when mounted low.
- Return air grille mounted high near the ceiling: The top of each louvers should be closest to the grille face with the bottom of each louver slanted inward.


- Return air grille mounted low near the floor: The bottom of each louvers should be closest to the grille face with the top of each louver slanted inward.
Air Grille Installation Repairs and Tips
- The age of the grille, and brand of grille, can cause variations in size and screw hole placement when replacing an air grille.
- If the existing mounting holes don’t line up you may have enough room to create new holes by moving the grille up or down, but be careful that you are not too close to the existing holes and make one big hole.
- If the air grille screw will be screwing into a wall stud you’re best off drilling a pilot hole first. The coating on the screws can easily be stripped off if the screw is torqued too much. You can check this by tapping or slight pushing on the interior side of the air boot to feel for a solid object. You may also be able to visible see a wall stud is present.
- Be careful not to over-tighten and strip the air grille screws when screwing into the sheet metal tabs.
- The air grille screw is not grabbing anything? (i) The sheet metal hole is stripped. (ii) The duct boot tab may have broken off.
- Stripped screw hole? (i) Try a bigger diameter or longer screw. Your local home improvement store will sell different variations with a painted finish. You can switch to a phillips pan head screw instead of a hex head screw if that’s all that is available with a painted head. (ii) Try a plastic wall anchor and screw combination in the wall facia (drywall, plaster, etc.) for securing the air grille.


